Managing Curves and Maps
This section contains information on how to create, edit, delete, import, and export maps/curves used in constraints.
Importing map/curve data from a file
If the data for a constraint curve or map exist as e.g. *.dcm, *.cdfx, *.csv, *.xls, *.xlsx, *.xlsm or *.ascmo file, they can be imported.
- In the Constraints step select the Show checkbox of the constraint to which you want to import the curve/map.
-
Select Parameter/Model > Import.
A file selection window opens.
-
Select the file you want to import and click Open.
The Import Maps or Models window opens. It lists the items in the file.

-
Use the drop-down lists to assign the proper inputs to the X and – for maps only – Y axes.
If you assign an input to the Y axis for a curve, the assignment is ignored.
- In the Import column, activate the checkboxes of the items you want to import.
- In the Name column, enter a unique name for each item you want to import.
-
Click OK.
-
The selected items are imported to the currently selected constraint.
Afterwards, the borders can be slightly extended by adding scales and shifts for the lower and upper limits via the Scale/Shift button.
Note
To extend the lower borders, the value of the shift must be negative.
To assign an imported map/curve to a constraint, proceed as described in Assigning an existing map/curve to a constraint.
You can export the curve/map used in the currently displayed constraint, or you can export the curves/maps defined in your ASCMO-STATIC ExpeDes project. Available export formats are *.dcm and *.csv.
-
Export the curve/map of the currently displayed constraint
-
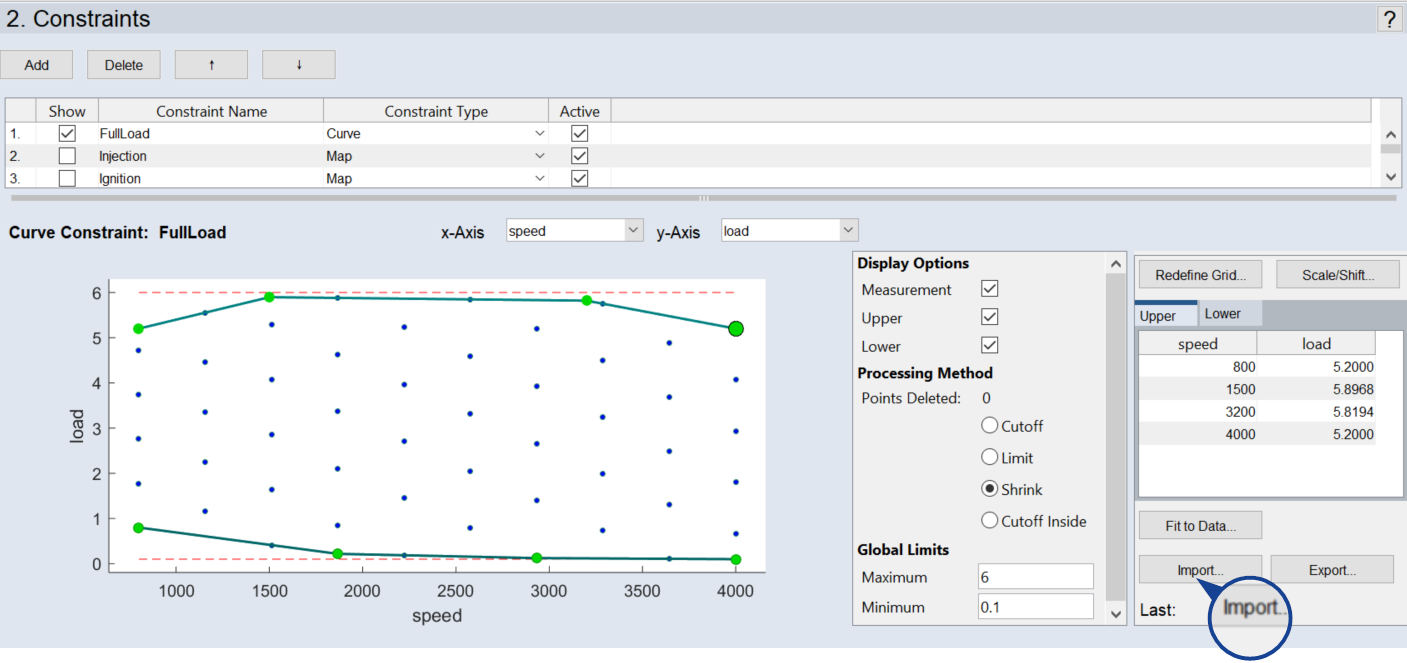
In the table area (region E in ASCMO-STATIC ExpeDes Step 2: Constraints (Type "Curve")), click Export.
The Save Constraint Maps window opens.
- Select the file type.
-
Specify the location and the file name and click Save.
The Specify label names window opens.
- In that window, enter labels for the maps/curves.
-
Click OK.
The maps/curves used as upper and lower constraint are exported.
-
-
Export the curves/maps in the ASCMO-STATIC ExpeDes project
-
In the ASCMO-STATIC ExpeDes window, select Parameter/Model > Export.
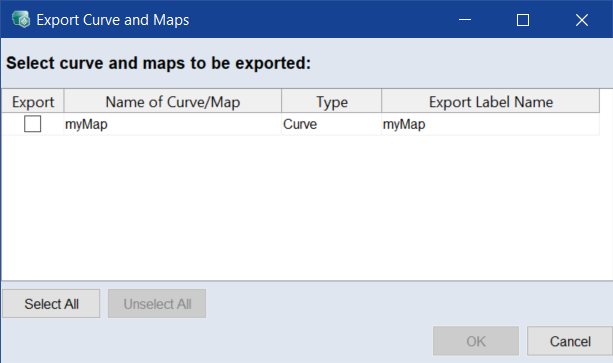
The Export Curve and Maps window opens.
-
In the Export column, select the maps/curves you want to export.
You can use Select All and Unselect All to select/unselect all maps/curves in the list.
-
Click OK.
The Save Constraint Maps window opens.
- Select the file type.
-
Specify the location and the file name and click Save.
The maps/curves are exported. The Export Curve and Maps window closes.
-
Assigning an existing map/curve to a constraint
If a map/curve already exists in the ASCMO-STATIC ExpeDes project, it can be selected via the Import button and assigned to a constraint.
- Select the constraint to which you want to assign the map/curve data.
-
Click Import at the bottom right (see region E in ASCMO-STATIC ExpeDes Step 2: Constraints (Type "Curve")).
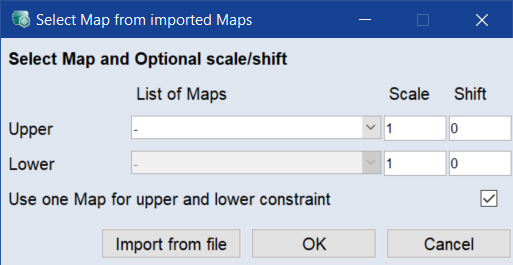
The Select Map from imported Maps or Select Curve from imported Curves window opens.
Note
If no maps/curves are available in the ASCMO-STATIC ExpeDes project, a file selection window opens, in which you can import map data (*.dcm, *.csv) for further use.
- To use different maps for the upper and lower limit, deactivate the Use one map for upper and lower constraint checkbox.
- In the List of Maps/List of Curves column, select the map/curve to be used for the upper and lower limit.
-
Click OK.
The Select Map from imported Maps or Select Curve from imported Curves window closes. The upper and lower bounds are assigned to the constraint and displayed.
Afterwards, the borders can be slightly extended by adding scales and shifts for the lower and upper limits via the Scale/Shift button.
Note
To extend the lower borders, the value of the shift must be negative.
-
To create a new Map/Curve, do one of the following:
- In the ASCMO-STATIC ExpeDes window, select Parameter/Model > New.
- In the Parameters list of a formula constraint (region A ASCMO-STATIC ExpeDes Step 2: Constraints (Type "Formula")), click New.
The Create new Map/Curve window opens.
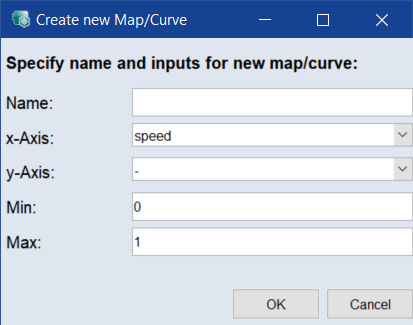
- Enter a name, select the inputs at which the Map/Curve is defined and enter upper (Max) and lower (Min) limit.
-
Click OK.
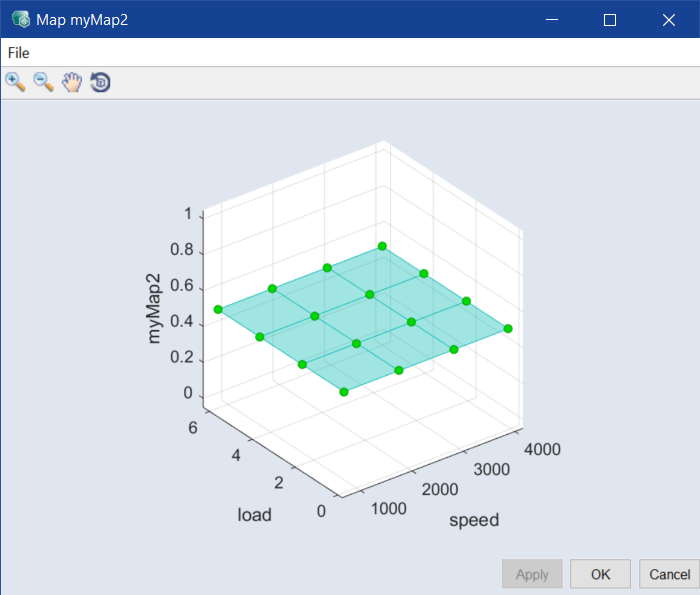
The Editing Map/Curve and the Map <name> or Curve <name> windows open. Here you can edit the new map.
Maps/Curves are displayed as a table or plot and can be edited here.
-
To modify an existing Map/Curve, do one of the following:
- In the ASCMO-STATIC ExpeDes window, select Parameter/Model > Edit > <map/curve name>.
- In the Parameters list of a formula constraint (region A ASCMO-STATIC ExpeDes Step 2: Constraints (Type "Formula")), click Edit.
The Editing Map/Curve and the Map <name> or Curve <name> windows open.
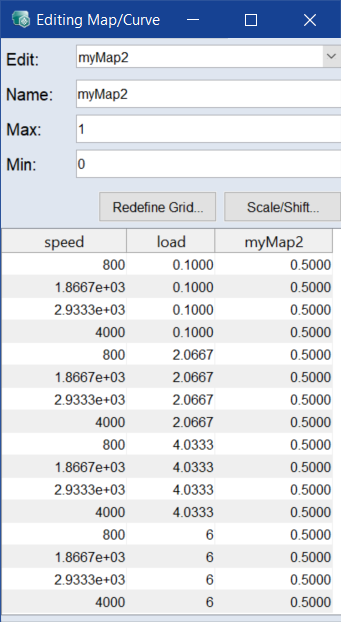
- To redefine the grid points, click Redefine Grid, then proceed as described in Changing the number of grid nodes.
-
To scale and/or shift the map/curve values, do the following:
-
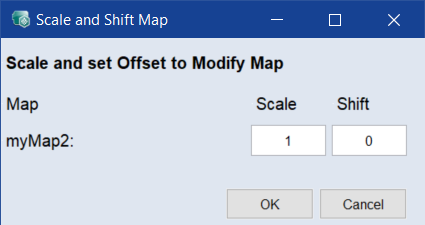
Click Scale/Shift.
The Scale and Shift Map window opens.
-
In that window, enter a scale factor and/or a shift for the map/curve values.
Note
To extend the lower borders, the value of the shift must be negative.
- Click OK.
-
- Move the Smoothness slider to smooth the map/curve.
-
In the ASCMO-STATIC ExpeDes window, select Parameter/Model > Edit > <map/curve name>.
The Editing Map/Curve and the Map <name> or Curve <name> windows open.
-
In the Name field, edit the name of the map/curve.
-
In the Map <name> or Curve <name> window, click OK to accept the change and close the windows or Apply to accept the change without closing the windows.
-
To delete a map/curve, do one of the following:
- In the ASCMO-STATIC ExpeDes window, select Parameter/Model > Delete.
- In the Parameters list of a formula constraint (region A ASCMO-STATIC ExpeDes Step 2: Constraints (Type "Formula")), click Delete.
The Delete Curve and Maps window opens.
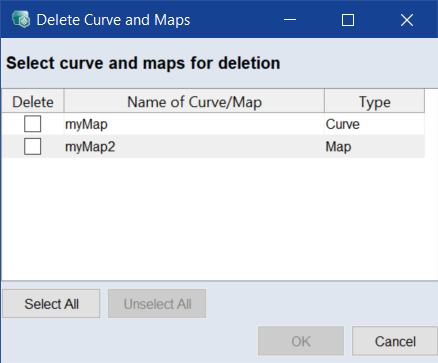
- In the Delete column, select the maps/curves you want to delete.
-
Click Delete.
- Click Yes to delete the selected maps/curves.