Step 8: Export
|
NOTICE |
|---|
|
Damage due to wrong test plan Wrong engine settings in ASCMO-STATIC ExpeDes
|
In this step, the properties of the project and the experiment plan itself are displayed. You can export the data in *.xlsx, *.xls or *.csv format. In addition, you can display the data as scatter plots, density plots, scope views, or as a table.
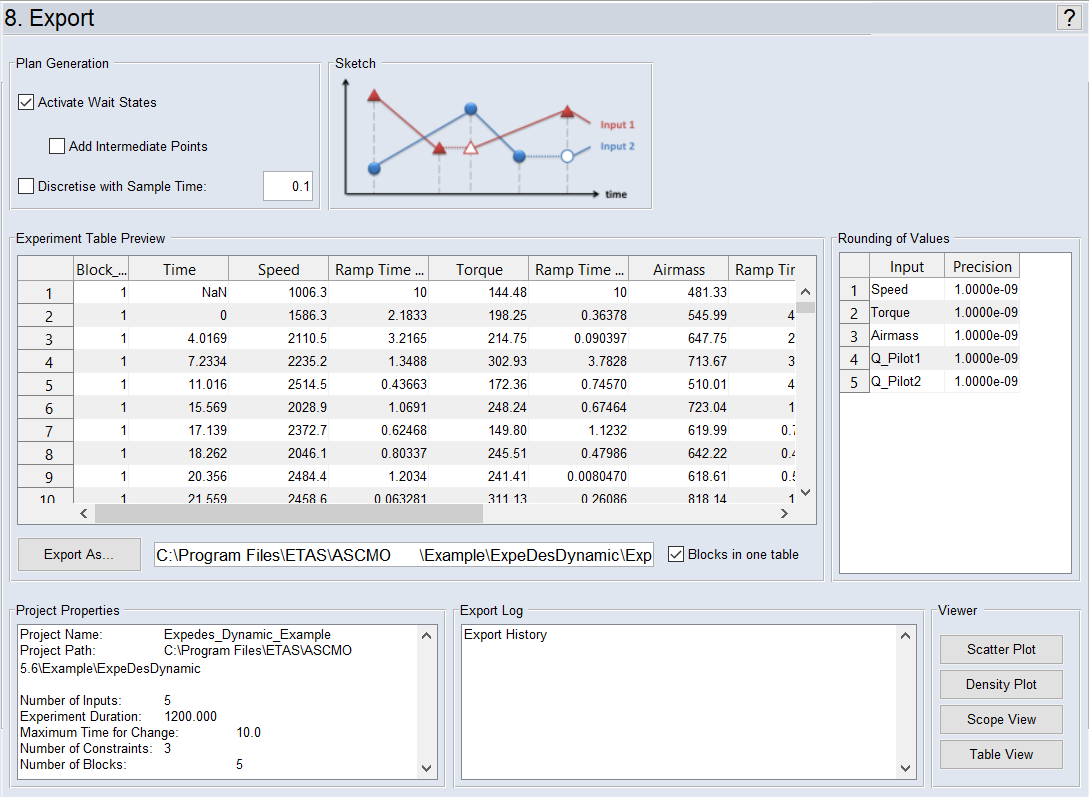
Fig. 45: ASCMO-DYNAMIC ExpeDes Step 8: Export
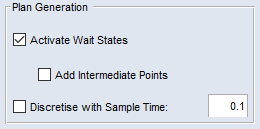
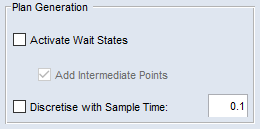
Plan Generation
In the Plan Generation area, you can define which values are to be included in the export table of the experimental design.
Plan Generation – Type 1
The target parameters for the engine dynamometer are already specified. The absolute time (Time column), until all the parameters for a line have been processed by the test rig is indicated in the export table.
If an input is defined as the type Ramp, the Ramp Time column to its right indicates the amount of time specified by the test for reaching the target value. The Ramp time depends on the predefined gradients. For the input type Step, the Hold Time column on its right specifies the length of holding the respective value.
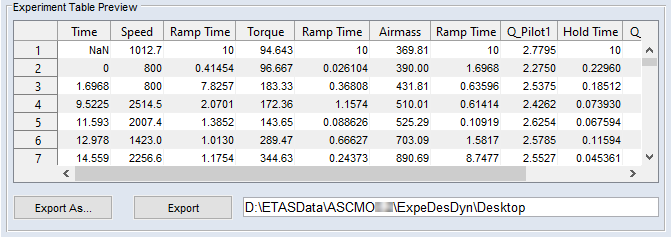
Fig. 46: Preview for the export table format "Target Values with waitstates"
Plan Generation – Type 2
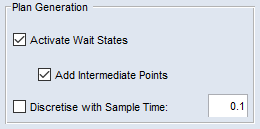
Similar to Type 1, but intermediate points are added to the table.
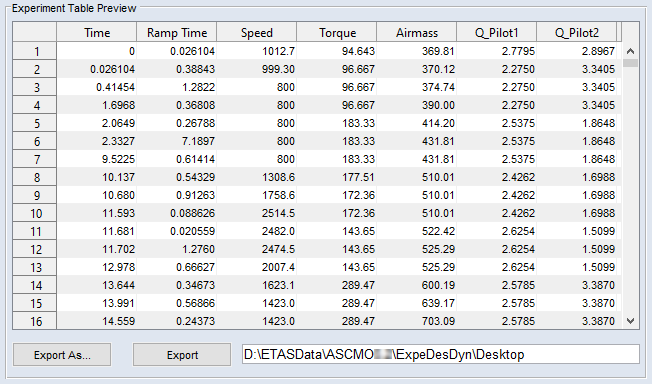
Fig. 47: Preview for the export table format "Target Values with waitstates and intermediate points"
Plan Generation – Type 3

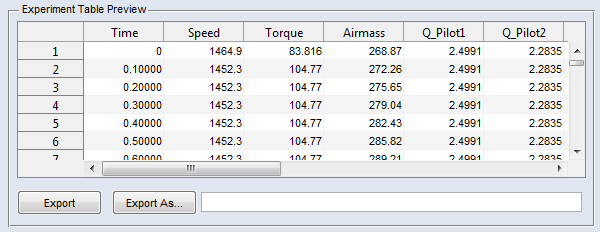
All output values are dependent on the information in the sample time [s] field. The sample time defines the time delay until a new measurement point for all inputs will be detected. In this connection it does not matter if an input parameter has been reached by the engine dynamometer.
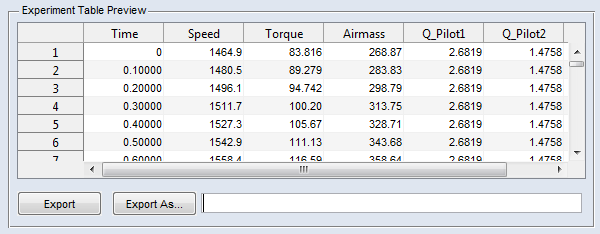
Fig. 48: Preview for the export table format "Target Values"
Plan Generation – Type 4
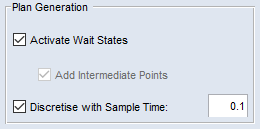
This Plan Generation is similar to the Activate Wait States checkbox. But the path will be recalculated depending on the Sample Time.
Plan Generation – Type 5
When an input has reached the predetermined target value, the present value of the other inputs will be detected.
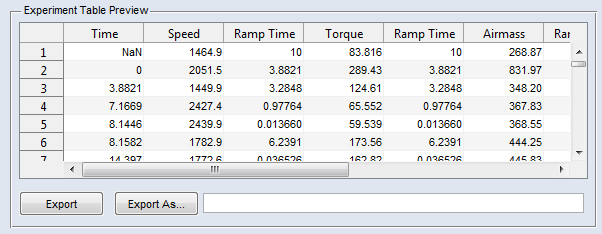
Fig. 49: Preview for the export table format "Full Trace"
|
Note |
|---|
|
The Sample Time can only be defined if you have specified the export table format Type 3/4. Doing this, the time must not be higher than the information in the Maximum Time for Change field. If you enter a higher value, the Conflict window opens. Use the drop-down list to decide which value you want to keep (Maximum time for change (<m>) or Sample time (<n>)). The selected value is assigned to both Sample Time and Maximum Time for Change. |
Precision
In the Rounding of Values area, you specify the precision with which the relevant value can be set (e.g. the speed at an engine test bench).
Changing the rounding of values
-
In the Rounding of Values area, click in the Precision column of the input you want to edit.
The cell becomes an input field.
-
Enter the desired precision value.
Exporting the Experiment Plan
When you selected the plan generation mode and the input precisions, you can export the experiment plan.
Exporting the plan
To export the experiment plan, proceed as follows.
-
Click Export to export the plan using the most recently selected path, file name, and format.
Or
In the Experiment Table Preview area, click Export As.
A file selection window opens.
-
Select the export file type.
Available file formats are *.xlsx, *.xls and *.csv.
-
Enter or select path and file name for the export file.
An existing file will be overwritten without inquiry.
-
Click Save.
The plan is exported according to your settings.