Server management
You will require administrator rights to access and configure the server. Refer to the server manual for more information about administrative rights. The Server manual is provided with the delivery package.
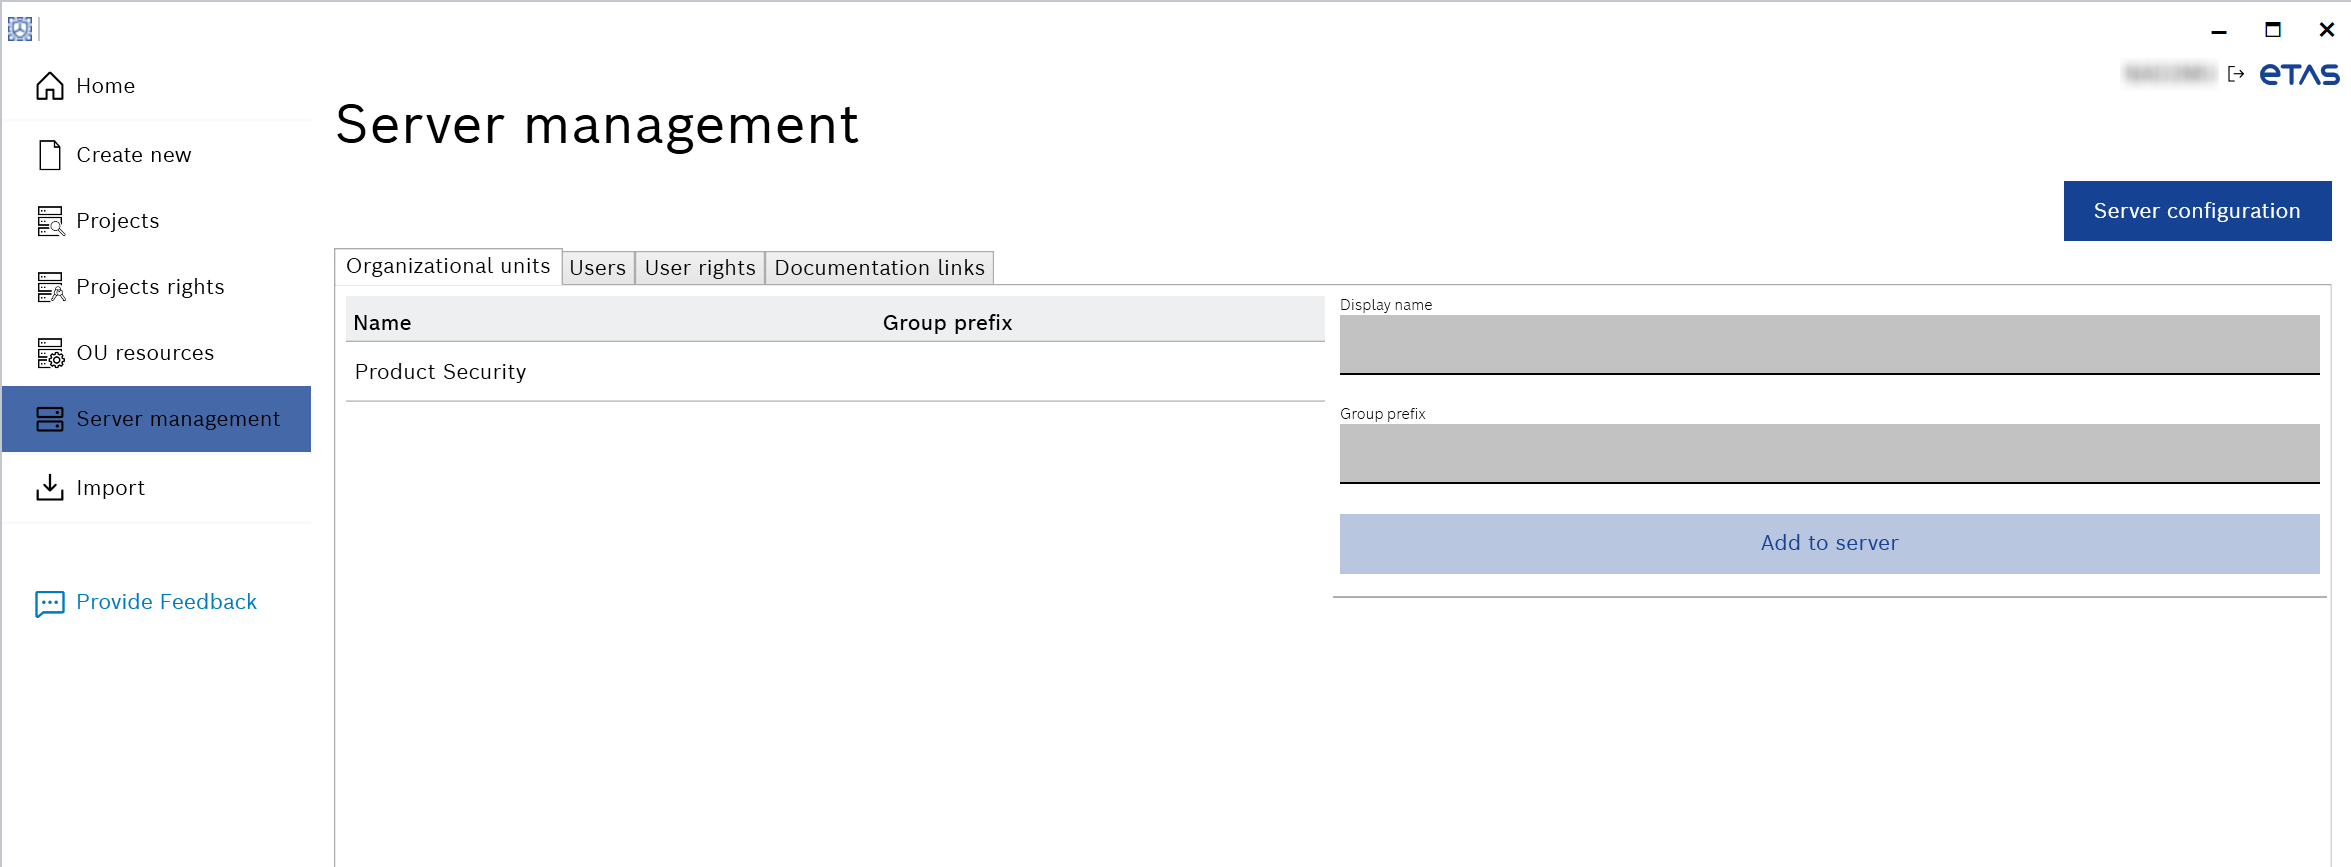
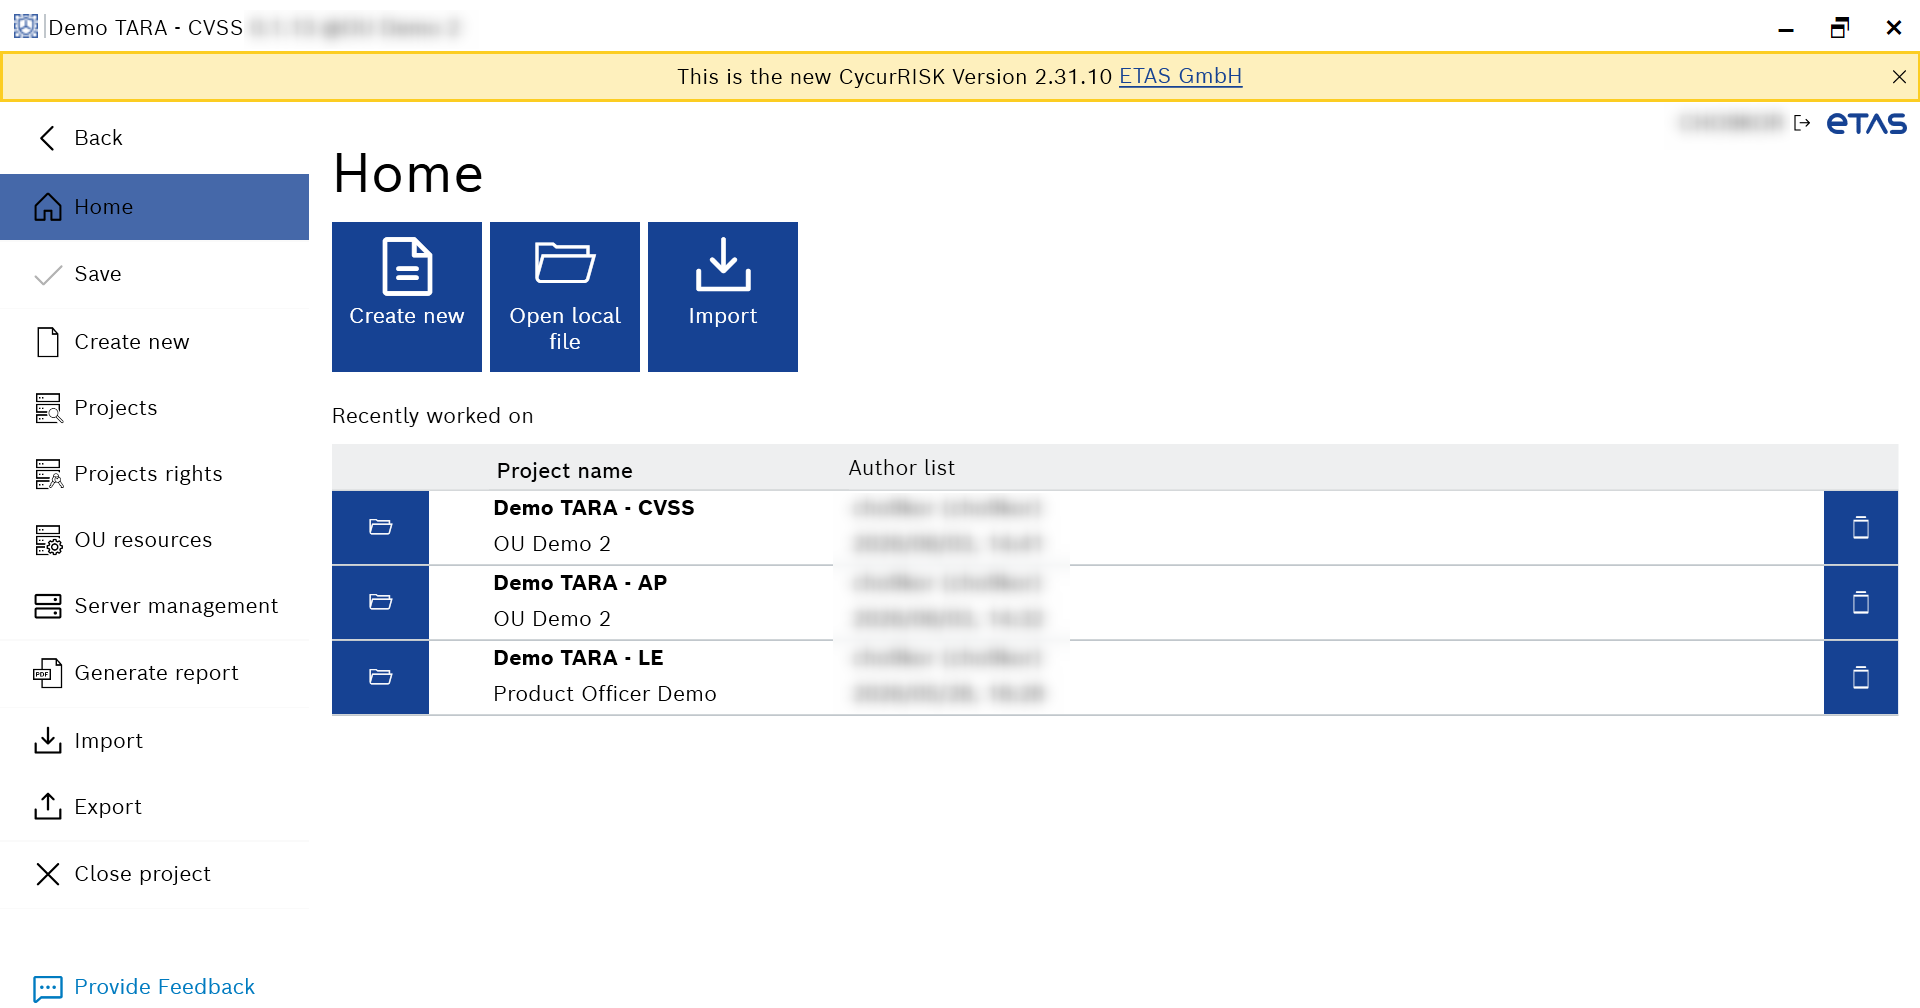
Fig. 1: Server management
It has the following features that you can manage:
- Organizational units
You can create and add a new organization unit to the server. Also, you can enter the group prefix. You allow to revise the name and group prefix of an existing OUs.- Group prefix
The prefix of the Active Directory. All users of the active directory group get access to the organizational unit and are assigned the corresponding access rights.
The corresponding suffix is defined in the “Server Configuration”. The users of the group prefix plus suffix are assigned the corresponding access rights. See the Server configuration below for more information.
- Group prefix
- Users
It displays the list of all users on the server and their assigned rights. Also, you can manually add a user to the server using the Active Directory or EntraID username. - User rights
It displays all existing OUs and their respective users with all assigned access rights. You can assign or remove the access rights for each OU. - Documentation links
You can upload or download the documentation links in *.json format. The DocumentationLinks.json file is provided with the delivery package. See Delivery Package for more information. - Server configuration
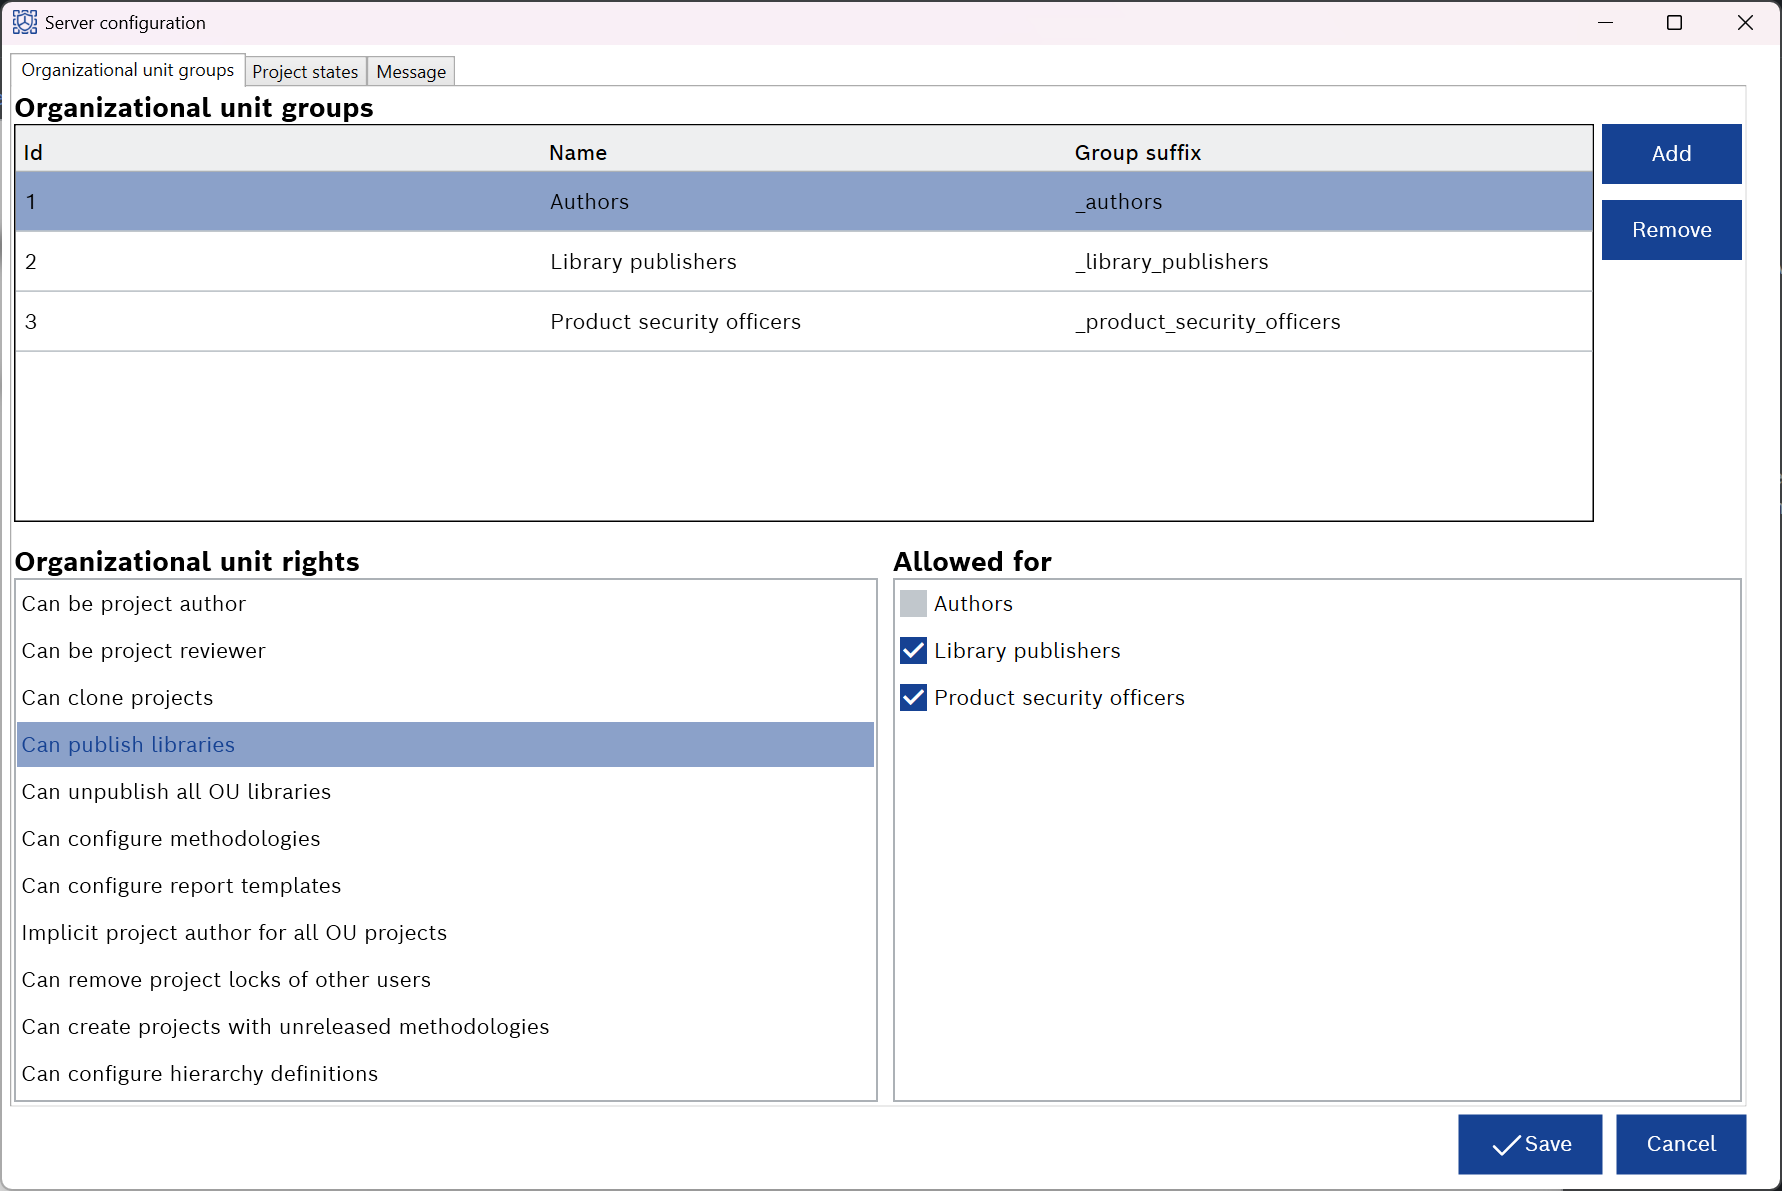
It has the following features that you can manage:
- Organizational unit groups
It displays the organizational unit groups and organizational unit rights. You can add, change, or remove the access rights groups. You can set up the name and active directory suffix of the group. You can assign the OU rights to the group.
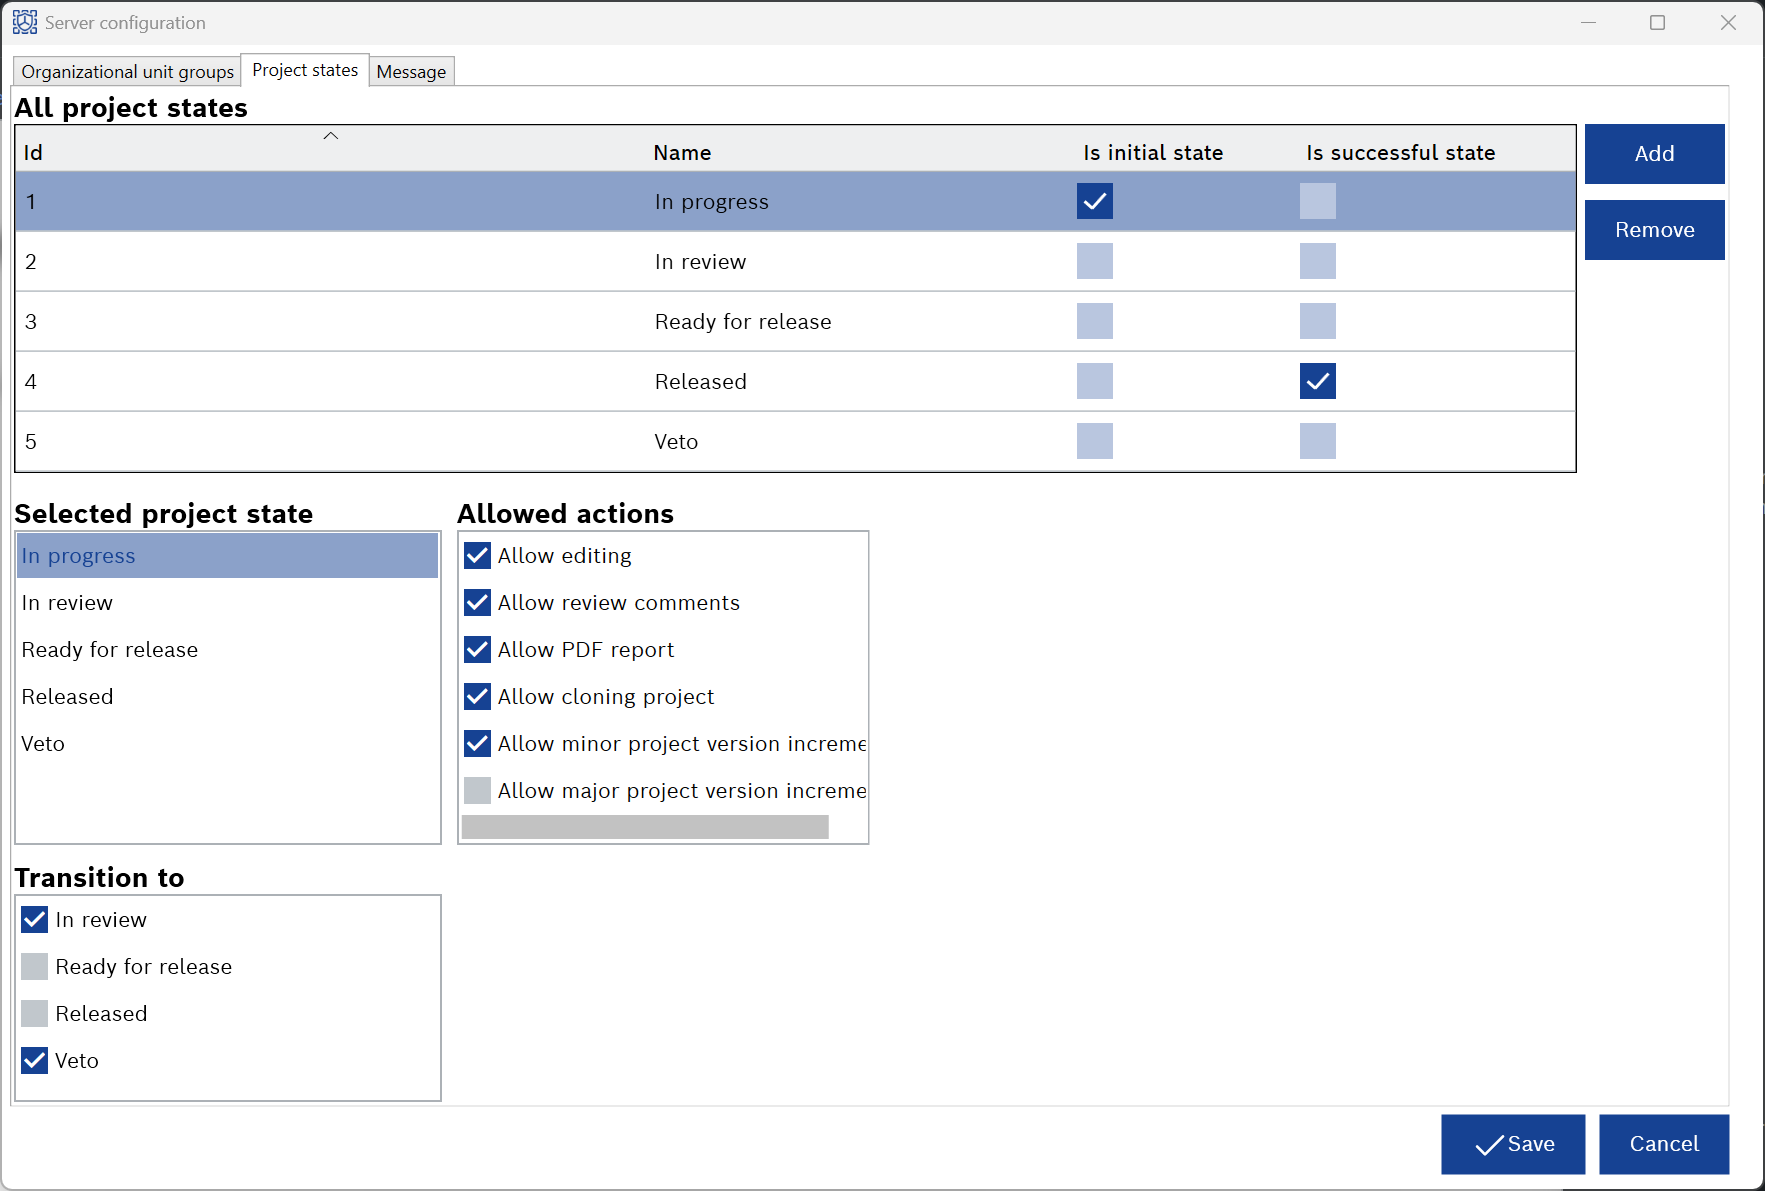
- Project states
It displays all and selected project states. You can add, change, or remove the project states. You can set the allowed actions for each project state and transition between states.
- Message
You can set up a message to display as a banner to the user.
To configure the message
- Perform one of the following steps:
- Click Server management in the “Home” screen.
- Go to the File menu > Server management.
The “Server management” window appears.
- Click the Server configuration button.
The “Server configuration" window appears.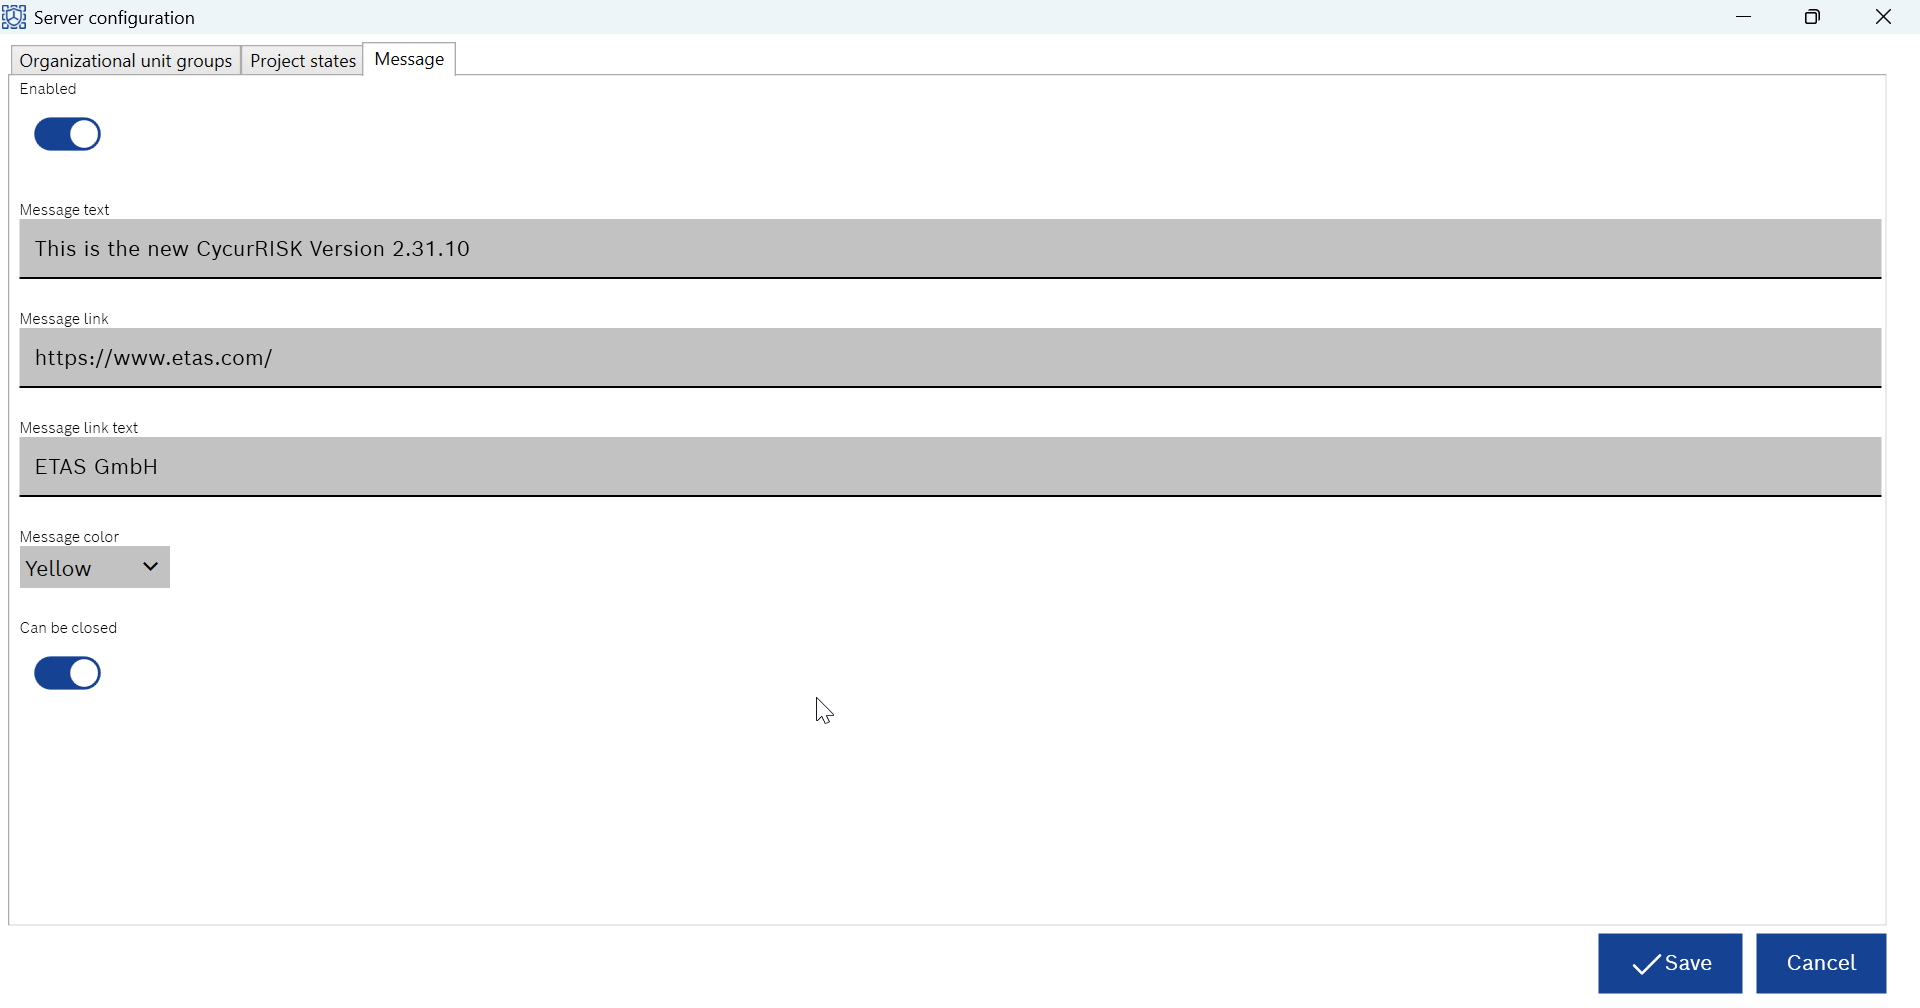
- Go to the “Message” tab.
By default, the “Enabled” toggle button is disabled. - Enable the “Enabled” toggle button to display the message.
- Enter the message text in the “Message text” field.
- Enter an additional link to a website in the “Message link” field.
- Enter a text to display instead of a website URL in the “Message link text” field.
- Select the message banner color from the “Message color” drop-down list.
- Decide whether you want to allow the user to close the message banner with the “Can be closed” toggle button.
This step is optional. - Click Save.
The message will take time to appear in the application just below the title bar.