Step 5: Block Configuration
In this step, the experiment plan can be divided into several parts (blocks) that can be measured separately. Each block by itself corresponds to the requirements of the design of experiments and is space filling.
The advantage of block building is that the effort involved in measuring is reduced. By measuring just a few blocks and if the model precision achieved is satisfactory, measuring can be stopped early without measuring all blocks.
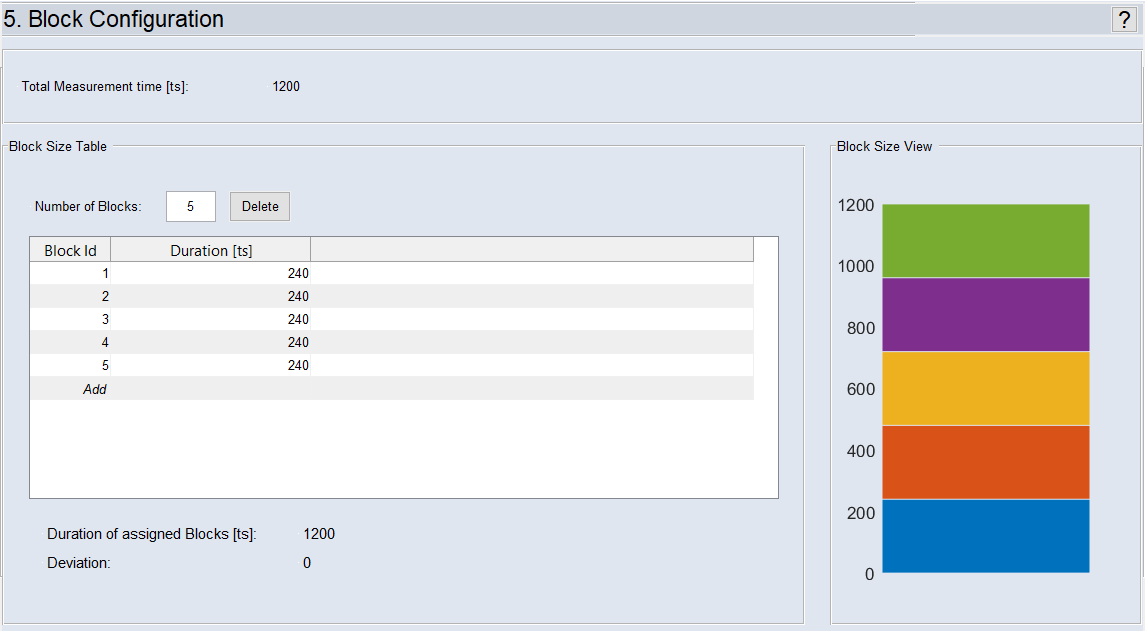
Fig. 42: ASCMO-DYNAMIC ExpeDes Step 5: Block Configuration
"Block Size Table" Area
The size of the individual blocks is defined here.
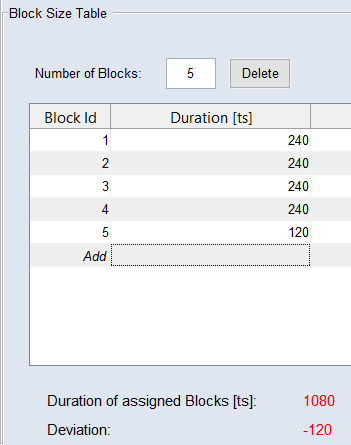
The sum of the defined measurement blocks is displayed under Sum of Assigned Measurements. If this number is less than or greater than the Current Number of Measurements, it is highlighted in red under Deviation.
"Block Size View" Area
The size of the blocks (defined in the Block Size Table area) is graphically displayed here.
Creating and Editing Blocks
-
In the Number of Blocks field, enter a number and press <Return>.
n blocks of equal size are created.
Or
In the last row of the table, with Block ID = Add, click in the Number of Measurement cell, enter the number of measurements for the new block and press <Return>.
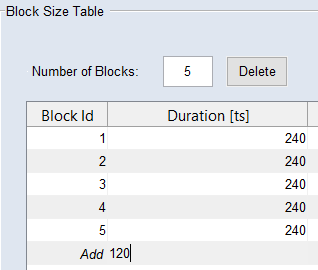
A new block is added.
-
Adjust the Duration [ts] for the previous blocks, so that the Duration of assigned Blocks [ts] equals the Total Measurement time [ts].
Note
If the sum of assigned measurements deviates from the current number of measurements, the experiment plan is invalid.
- In the block size table, select the block you want to delete.
-
Click Delete.
The block is deleted. The Duration in the deleted block is displayed as Deviation below the table.
- Adjust the number of measurements in the remaining blocks, so that all measurements are assigned to a block.