Step 3: Input Compression
In this step, compressions of measuring points in certain areas of the measuring space can be specified for inputs by area.
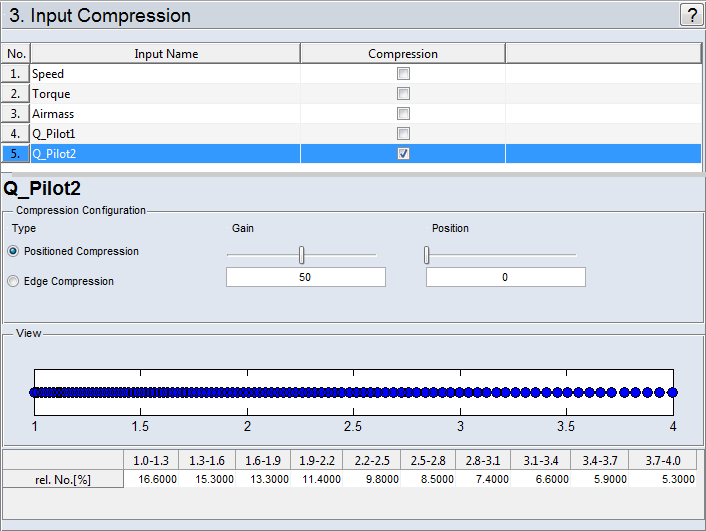
The inputs for which compressions should be performed can be selected in the list ("Compression" column). In the area underneath, the input currently selected in the list is displayed.
"Compression Configuration" Area
There are two types ("Type") of compression:
-
In this method, compression focuses on a freely selectable point.
-
"Gain" slider
Degree of compression for the selected center ("Position")
-
"Position" slider
Position of the center of compression
-
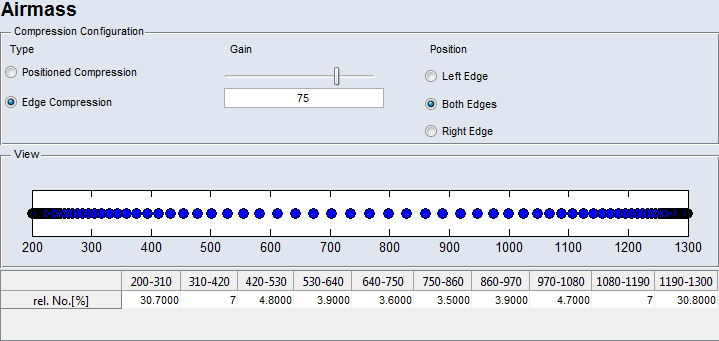
-
This allows obtaining a compression to one or both edges of the measurement range.
-
"Gain" slider
Degree of compression
-
"Position" options
The compression is done for one edge (Left Edge, Right Edge) or both edges (Both Edges) of the area.
-
"View" Area
In this area, the position of the measurement points and, therefore, the measure of the selected compression is graphically displayed. In the table, the percentage of measurements in the respective interval resulting from the compression is specified in the "rel. No.[%]" row.
Example:
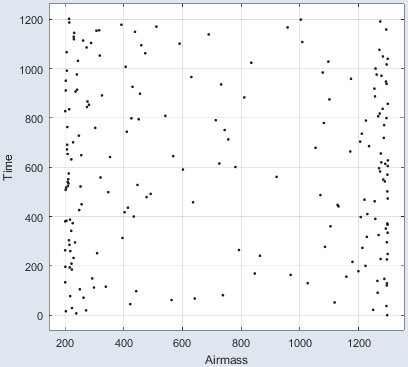
In the figure below, the measurements were compressed with a gain of 75 to both edges of the measurement range.
The result of the compression looks like this (Scatter Plot):
See also the tutorial in the Help (Step 3: Input Compression).